Are you already envisioning how great your garden will look this summer? Excited to get some seeds started?
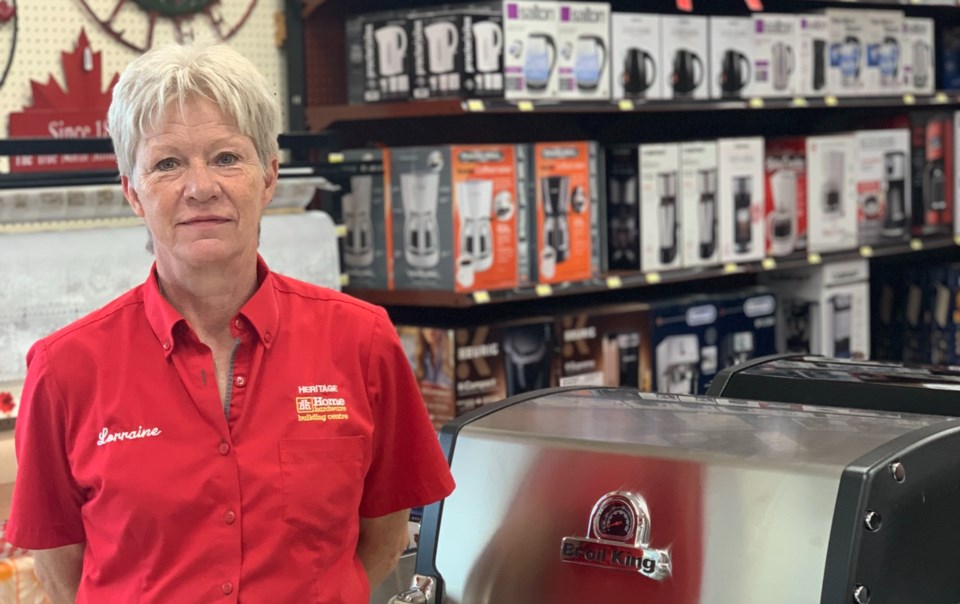
We spoke with Lorraine from Heritage Home Hardware in Sault Ste. Marie to find out how to start your plants indoors and give them the best shot at success.
If you weren’t a confident gardener before the pandemic, chances are you might be now. Many waded into the pastime and discovered just how rewarding it can be. Interest in starting plants from seeds has definitely grown in recent years—and for good reason, for those of us who live in Canada. Starting seeds indoors gives you a jump on the growing season, which is much shorter here; you can plant indoors long before the ground outside thaws.
Another benefit to growing indoors is the complete control you have over growing conditions. Water, light and soil are critical in a plant’s early growth and you can determine each element. It’s also much less expensive to start your plants from seeds and you’ll have a greater variety to choose from too.
Choosing your seeds
Lorraine recommends choosing the seeds that are right for your particular climate and soil. Read the seed packaging carefully, along with the planting and care instructions. Pay attention to details such as planting depth, spacing, watering requirements, when to sow and the number of days to germination.
It’s also a good idea to choose plants that match your level of experience as a gardener. You’d be surprised how much care and attention certain plants can require. If you’re a beginner, stick to marigolds, zinnias, nasturtium, tomatoes and basil.
Get the right equipment
While you can certainly start seeds in a variety of container types (as long as they have drainage holes, that is), you’ll have the most success if you use equipment that was specifically designed for seed starting. If you’re new, this is definitely the way to go and you have a few options.
Seed-starting trays
You’ve likely seen these seedling trays: they come in a range of sizes and configurations. You might want to select the kind that include individual cells for each seedling—this makes it easier when it comes time to replant them in the garden. An added benefit is that the cells keep different types of plants separated from each other. Some seed trays also include a humidity dome, which creates a moist and humid environment that seedlings can thrive in.
Plantable Pots
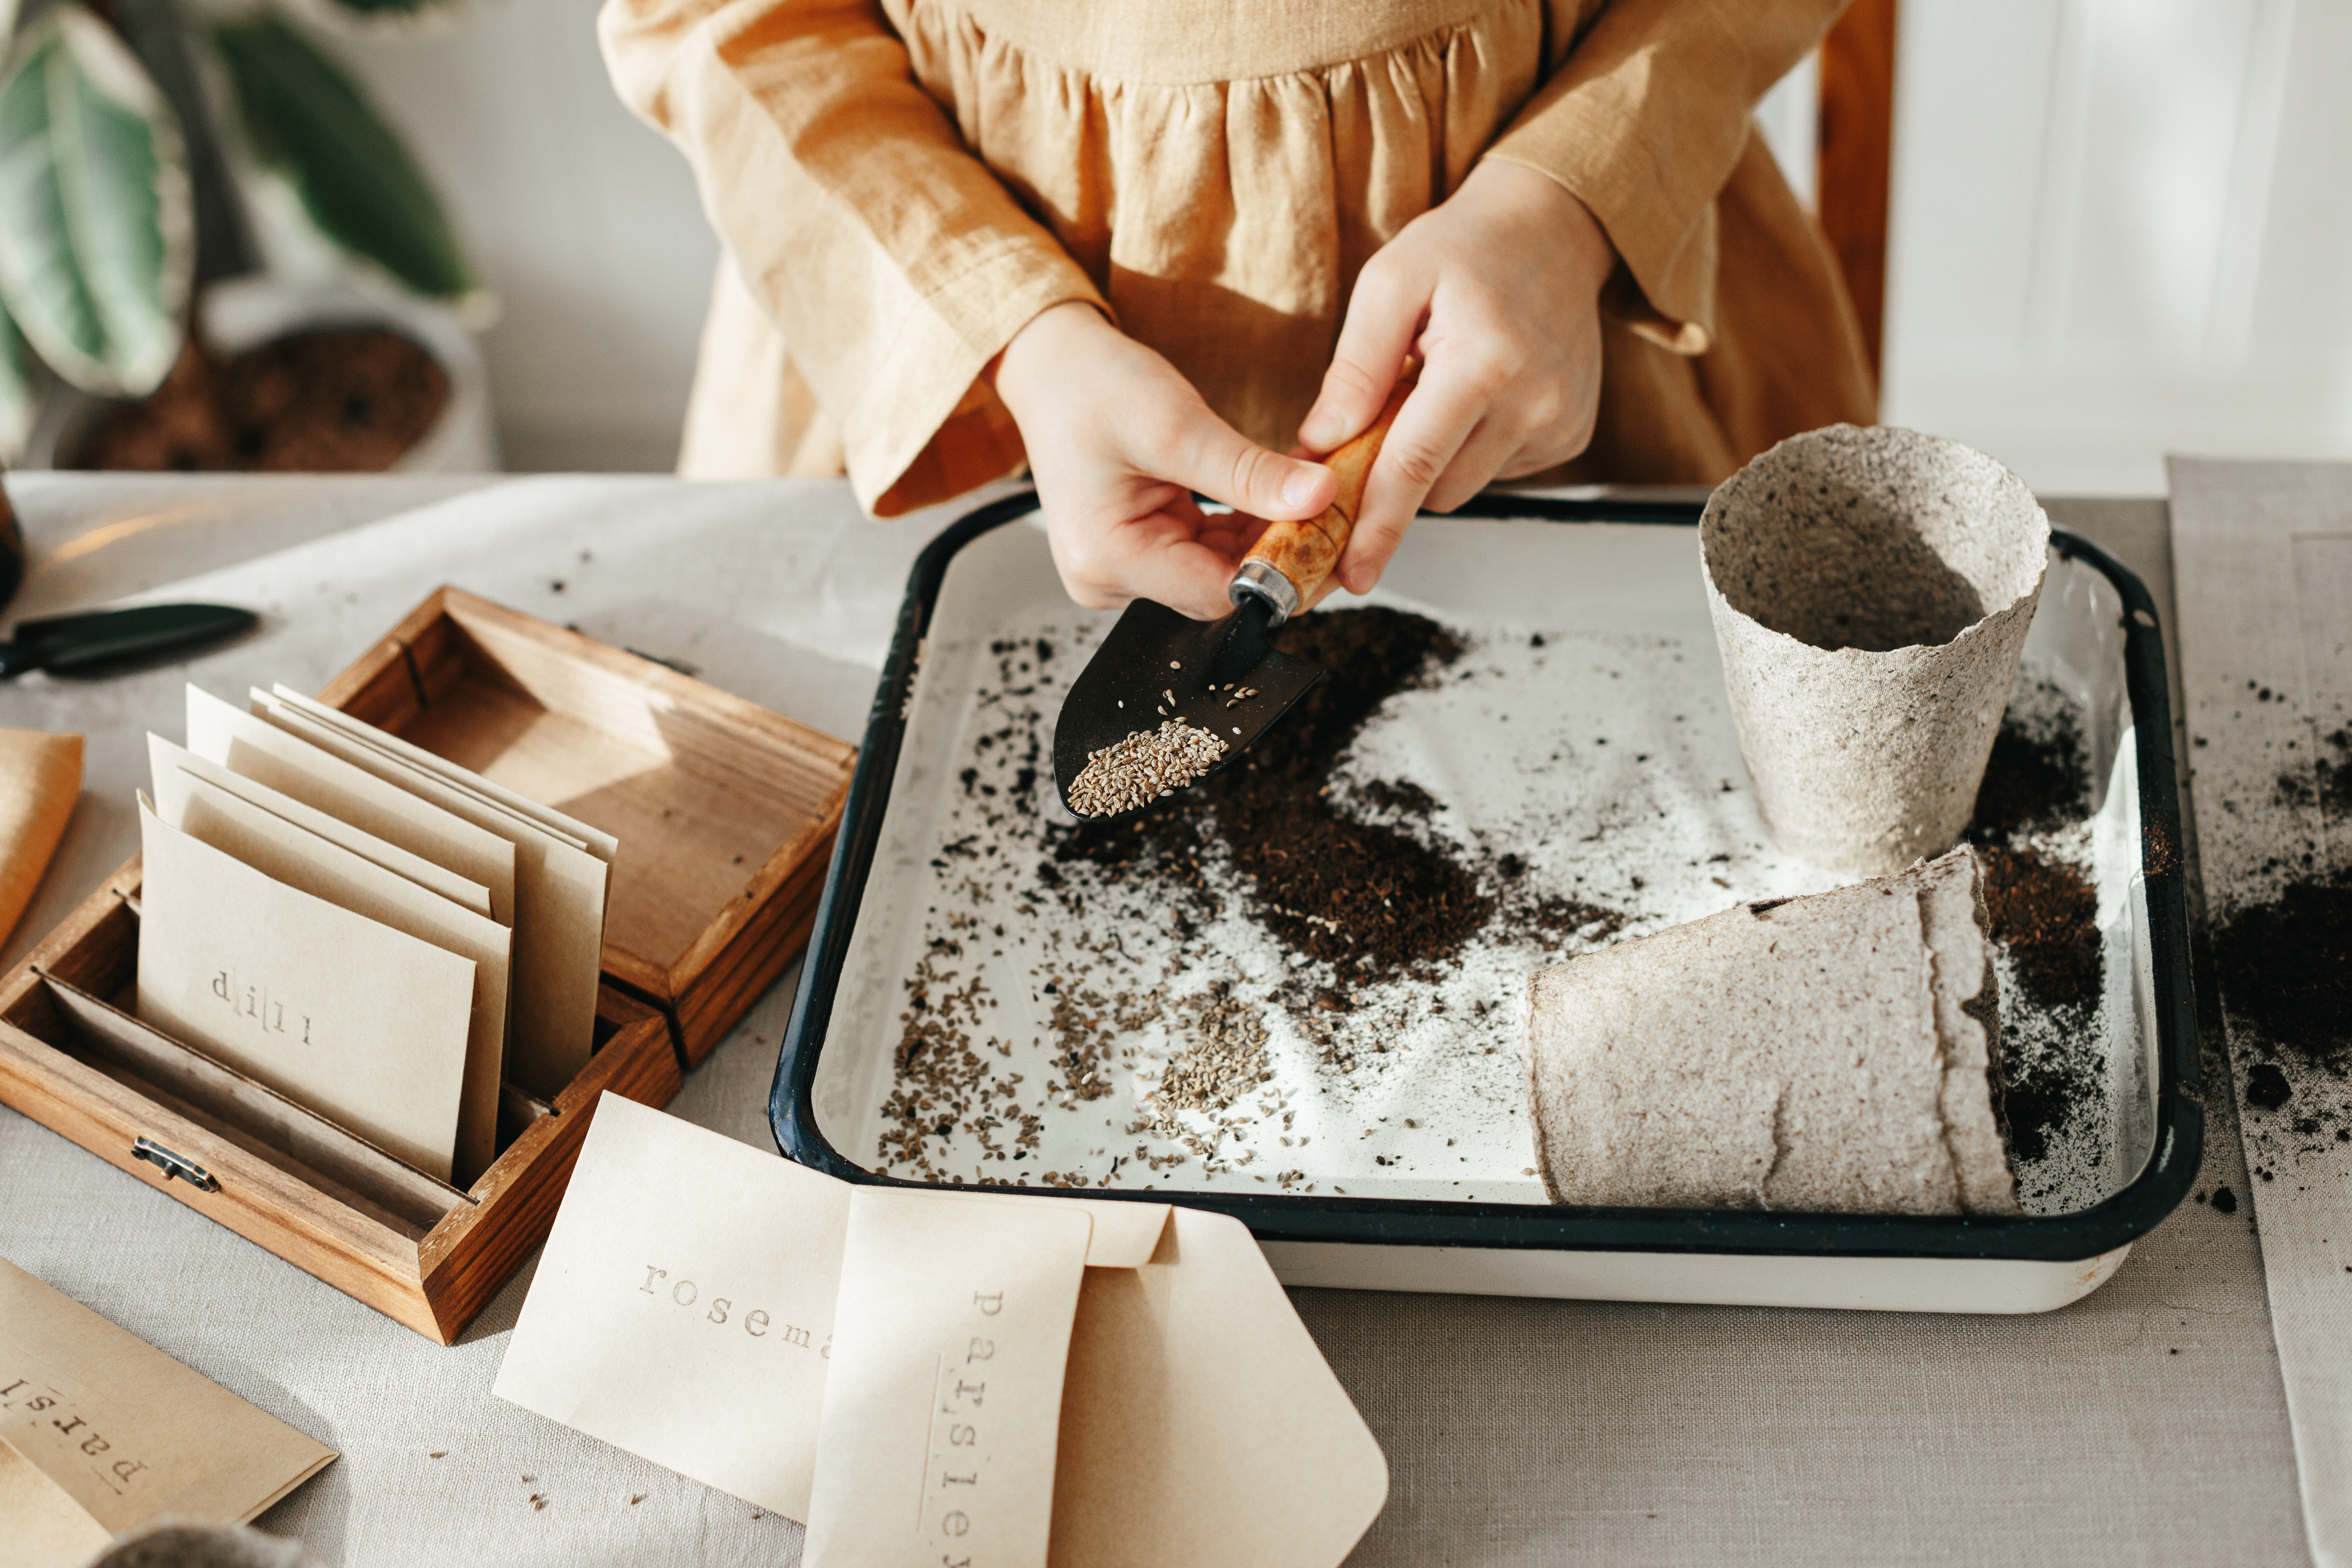
If you’re at all nervous about the idea of replanting your seedlings into your garden, you might want to consider purchasing plantable pots. These are seed pots that are made out of biodegradable materials, so you can set the whole pot with the seedling in it directly into your garden. You won’t have to worry about any root disturbance that might otherwise arise from the act of replanting; it’s also easier when it comes to cleanup as you won’t have to find space to store your pots. It is important, though, to understand your plants’ root requirements. Plants with more robust root systems will do better in deep-root pots.
Greenhouse kits
Some kits come assembled and ready to go, including a humidity dome to encourage plant growth. Others include your growing medium, a heat mat and a grow light; some even have self-watering systems. This can be helpful if you’re worried about under- or over-watering your delicate seedlings.

Choosing a growing medium: Soil vs. hydroponics
Either medium works well for growing seedlings and each offers unique benefits.
Seed-starting soil
If you’re going with soil, look for a pre-mixed version that contains perlite, vermiculite and sphagnum peat moss—or choose a specialty seed-starting kind. This type of soil, you’ll notice, is very light and retains moisture well; this helps your seeds germinate and be able to flourish.
It’s a good idea to water your soil and let it soak in for an hour before you begin planting. Most soil mixes also need some kind of nutrient boost. A few weeks after germination, start adding a fertilizer and continue until it is time to transplant. Don’t use soil or compost from your garden because it can contain pests such as soil gnats that can harm your seedlings.
Hydroponics
With hydroponics you grow plants in a nutrient-enriched water solution; there is no soil. Roots get their support from gravel, stones, perlite or other materials. It offers several benefits: the roots are able to absorb nutrients more quickly from the water and the extra oxygen in water helps stimulate root growth.
Hydroponic garden kits are also available. Some include peat pellets that when soaked in water expand into mini seed pots. Others use coconut fibre pots you can transplant right into your garden.
Grow lights
Once your seedlings emerge from the surface of the soil, they need a lot of light. That’s where grow lights come in; with sufficient light you can prevent your seedlings from getting leggy and spindly.
Different types of grow lights for seedlings include LED, HPS (high pressure sodium), fluorescent and other high-output lights. In general, the more lumens, the better. Look for full-spectrum light bulbs; they produce a balance of cool and warm light that effectively mimics the natural solar spectrum. You can even focus the light directly on your plants by using a model that includes a stand and reflector. Your seedlings really do rely on you to get the light they need!
Care and maintenance
When it comes to moisture and watering, be a vigilant plant parent: keep your soil slightly damp and check it daily. To avoid damaging the stem and leaves, water gently at the seedling base. To promote germination, use a greenhouse dome to maintain a humid environment.
Be on the lookout for any dangerous fungal growth that can kill your seedlings. “Damping off” appears as fuzzy hairs on the stem of a seedling. To prevent it, occasionally spray your seedlings with 3% hydrogen peroxide; also be sure to vent your greenhouse dome on a regular basis to regulate humidity.
Unfortunately, there is no way to know which seeds will thrive, so it is recommended that you plant at least 2-3 seeds per pot. Seeds that are struggling should be snipped off; this will give all of the available nutrients to the stronger seedlings.
When it comes time to move your plants outdoors, the transition must be gradual. In gardening this is referred to as “hardening off”. Start the process by opening a window for a few hours a day to expose your plants to the cooler air. Next, move your trays outside for a few hours a day, gradually increasing the time they spend out there until you reach a full day.
Starting seeds can be a great family activity, especially if there are little ones in your household. Get them involved and you can learn (and grow!) together.
For more information about starting seeds indoors, visit Heritage Home Hardware or call 705-759-5101.
